In this tutorial, you will learn how to show hidden files in Windows 10. This also applies to other Windows versions as well. At the bottom of the page, you can also view the video tutorial on our YouTube channel.
About Hidden Files in Windows
As a default setting in Windows, some folders within your system are hidden to prevent direct access to these files. However, there are times when you may wish to locate these files and edit their contents.
Sometimes you may have a problem with your system and accessing these files is the only way to solve the problem. It may also require deleting some of the contents within the hidden files or the folders themselves. Typically, hidden files are within deeper route-folders within your Windows system hierarchy.
Continue reading to learn how to access your system settings to easily show these hidden files on your PC.
Tutorial: How to Show Hidden Files in Windows 10
Follow the simple steps below to access the settings to show hidden files on your system.
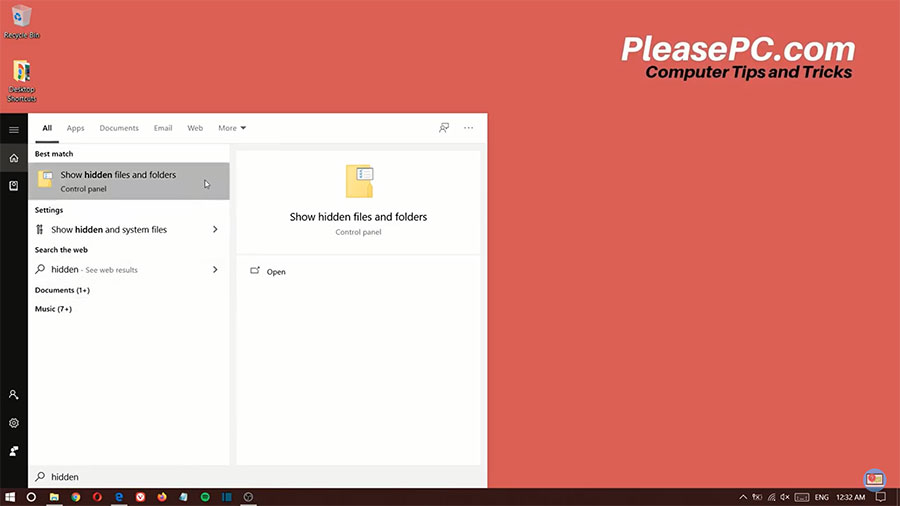
- Go to the Windows taskbar and do a search for “hidden files”.
- Click the search result that appears: “Show hidden files and folders” control panel.
- The files explorer window will then pop up.
- Then, select the “View” tag at the top of the window.
- Under the Hidden files and folders setting, select “Show hidden files, folders, and drives“.
- Finally, click OK to apply the new settings.
That’s it!
After completing these quick series of steps, you should now be able to access the hidden folders in your system directories.
Watch the Video Tutorial on YouTube
Feedback: Questions and Comments on YouTube
Do you have any questions or comments about how to show hidden files?
Please leave your feedback on YouTube after watching the video tutorial on How to Show Hidden Files in Windows 10.
Related Posts
- How to Disable Windows Update in Windows 10
- How to Change Mouse Cursor Color and Size
- How to Change Default Browser in Windows 10
- How to Check PC Specs on Windows
- How to Check Windows Version on Laptop
- How to Show My Computer on Desktop in Windows 10
- How to Zoom in Laptop Screen
- How to Enable Bluetooth on Windows 10
- How to Adjust Brightness on Windows 10
- How to Hide Taskbar in Windows 10
- How to Password Protect a Folder in Windows 10
- How to Open ZIP Files on Windows with 7-Zip